
This is the first of a two part tutorial teaching you how to create a side-scrolling portfolio site. If you’re planning to get serious in the design industry then you need to get yourself an online portfolio. Here I’m going to show you how to draft up the layout in Photoshop then next time I’ll be showing you how to code it in html/CSS.
Introduction
It’s been a few days since I posted my last tutorial, the reason for this is because I started writing this tutorial with no intention of coding it but I ended up coding in html/CSS then I added a few more features and a bit of PHP then I added image upload functionality and threw in a database as well and before I knew it I had created a simple CMS for portfolios, so I’ve been developing this while writing the tutorial and I’m hopefully going to release the CMS after I’ve posted both the tutorials.
Before we get started, you can check out the live demo of he portfolio we will be making here as well as the full size image. *The portfolio demo doesn’t work in IE at the moment, I’ll need to develop a separate stylesheet*

Step 1
Create a new document with dimensions; 2000x680px then change the foreground color to #0c0c0c. Now fill the background layer with this color; you can do this by hitting Alt+Backspace. With this design we want it to be side-scrolling so we don’t want to have to scroll vertically, I worked out that on all browsers running on a 1024x768px screen resolution there is at least 650px of vertical space to work with (unless you have hundreds of toolbars). Just to be safe we’re only going to use 520px as well as a margin of 80px at the top. So go View>New Guide and create a horizontal guide at 80px and then another one at 600px. If the guides aren’t showing then make sure View>Extras is checked as well View>Show>Guides. Lastly turn on snap by checking View>Snap. In the images below each step I’ve only shown half of the document as there isn’t enough space here to show it all so just ignore the fact that your proportions may look a bit different.

Step 2
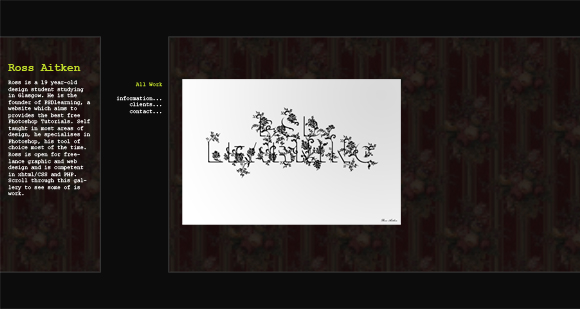
Create a new layer then change the foreground color to white, next select the rectangle shape tool and draw two rectangles snapping to the guides at the top and bottom and get something that looks like the image shown below.

Step 3
Now we need a floral pattern to go as the background, good floral patterns are actually quite hard to come by but I found an absolutely awesome free pack containing about five hundred seamless patterns; this has quickly become my favorite pattern pack and is definitely worth downloading, you can get it here or you can just download the single image that I used here. Open up one of the floral images in Photoshop then go Edit>Define Pattern and save the image as a pattern, you can now close that document and go back to our portfolio.
Step 4
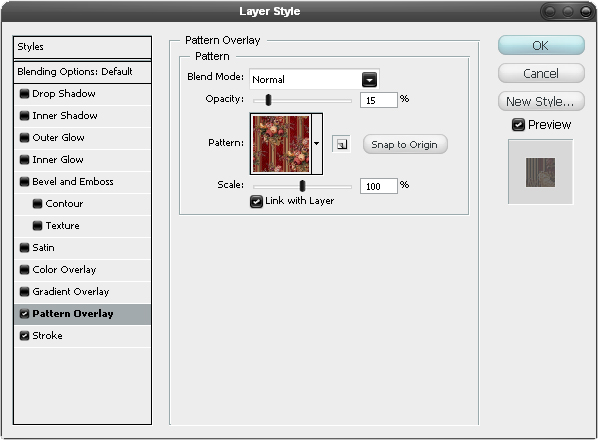
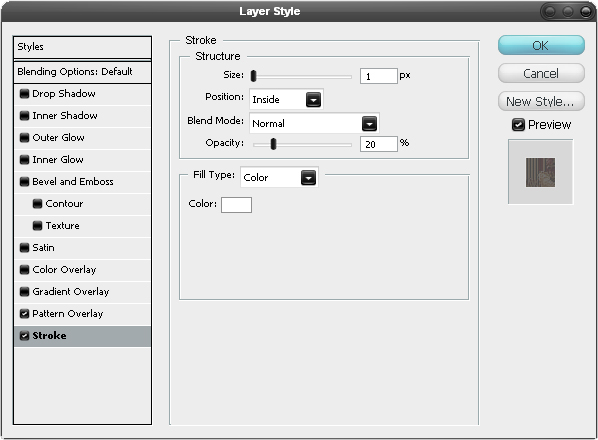
Right click on the layer with the two rectangles and go to blending options then add a pattern overlay and a stroke using the settings below and the pattern that you saved.
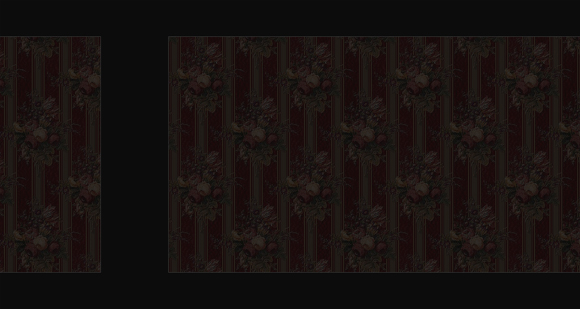
Step 5
In the layers panel change the fill opacity of this layer to 0%.
Step 6
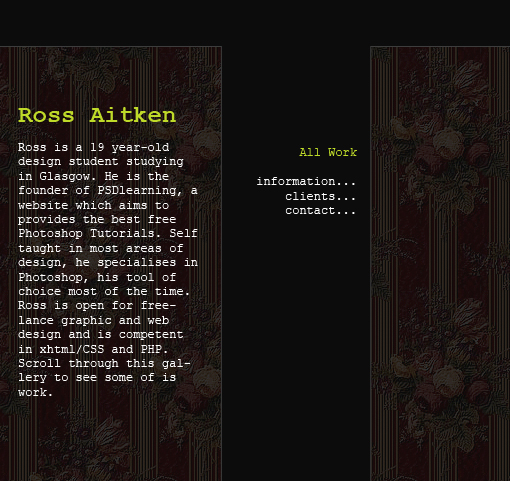
Using the text tool add your name and a small bio on the left and add some menu items and align the menu to the right. I wanted to go for a slab serif font so I used Courier New but you could also use Rockwell. Put your name in a different color and either remember this color or add it to your swatches, When we come to code this we’ll have the menu items changing color when we hover over them so you can change the color of one of them just to see what it looks like.
Step 7
We’re going to add in an image now so open an image that you’ve made then go Image>Image Size, make sure constrain proportions is checked then change the size so it has maximum dimensions of 480x360px. Now just copy and paste this image into your portfolio document and position it like shown below.
Step 8
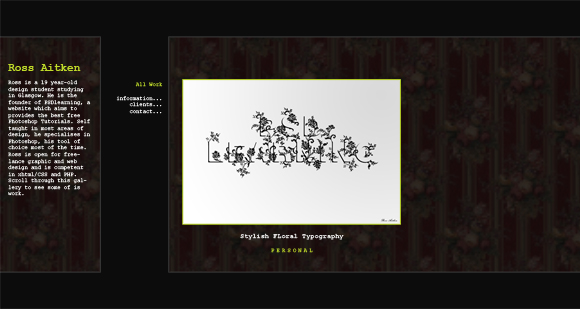
Add a stroke to this layer in the same way as we did in step 4 and use a size of two pixels and use the same color as you did for your name then add a title and put some other information below; I decided to put the name of the client below in the lime color.
Step 9
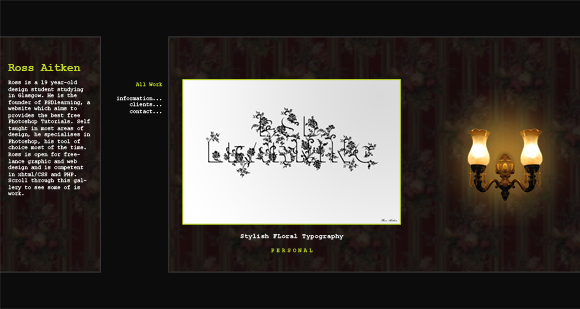
I thought it would be cool to have some wall lamps between each image to separate each one and make it look more like a real art gallery. I used a stock image for the lamp but had to make a lot of modifications to it like extracting the lamp then adding a new glow behind it and some shadows then mirroring one of the halves and scaling it down, if you want to do it yourself then you can get the original image here or you can just download the edited image here, this is in PNG format so already has transparency so all you need to do is to copy and paste it in like so.
Step 10
Now all you need to do is to repeat steps 7, 8 and 9 to add another image in then that’s you done.
Conclusion
Although here I’ve used a dark gray background, a floral pattern and a lamp as a divider, once we go on to code this then it’s easy to substitute these for different images or colors which means that using the same layout you can go around in Photoshop and change these parts until you get something that you like and when I bring out the coding part you can code your own personal portfolio. Hope you enjoyed this tutorial and I’ll get the coding part to you as soon as I can.
Check out Part 2


