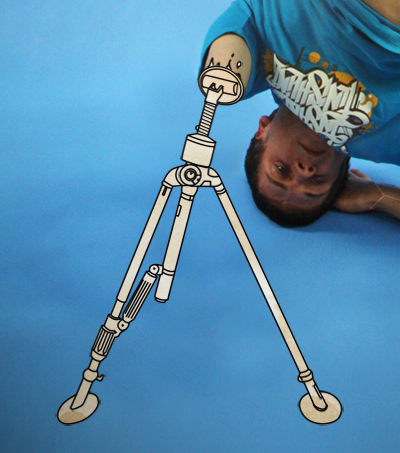
I wanted to write a tutorial showing how to reproduce some of the really common elements, regularly found in graphic design these days, almost cliche elements. In doing so you’ll produce a stunning piece of art. This will be a two part tutorial and part two will be up within the next few weeks. This is a useful tutorial for users of all levels.
Introduction
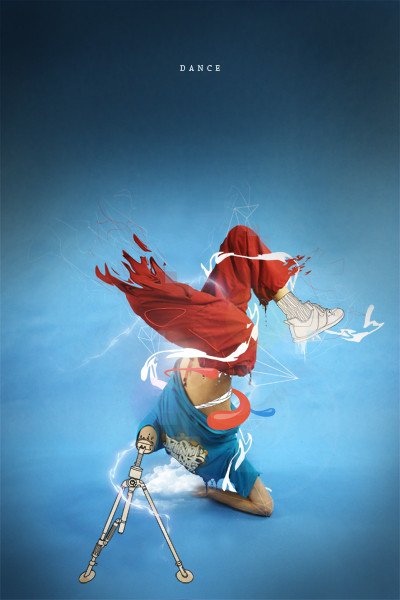
This two part tutorial will be showing how to create some really cool elements for a photo-manipulation. We’ll start with an image of a person and use lots of useful techniques to transform it into a really interesting image that will stand out. Below is a preview of what we’ll create over these two parts. When you’re fineshed check out part 2 here.

Step 1
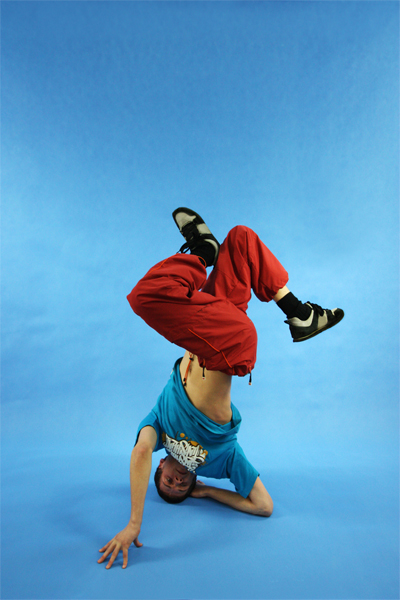
Start by finding an image you want to edit, the one I used can be found here. Open this image in Photoshop and we’ll get to work on it.
Step 2
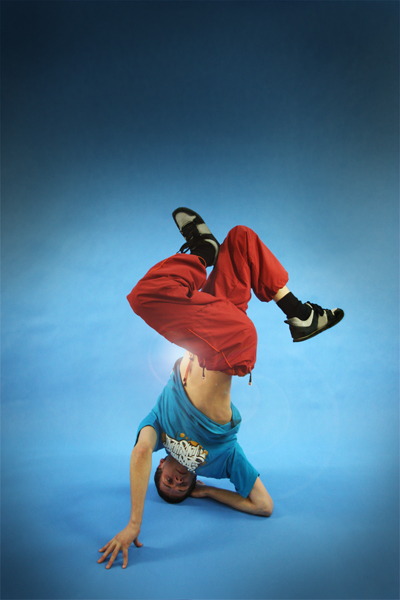
Create a new layer then select the brush tool and grab a large soft round brush and with the foreground color set to black add some vignetting to the image. This is where you darken the corners and edges of the image to enhance the focal point of the image. Lower the opacity of this layer to about 70%. You should now have an image that resembles the one below.
Step 3
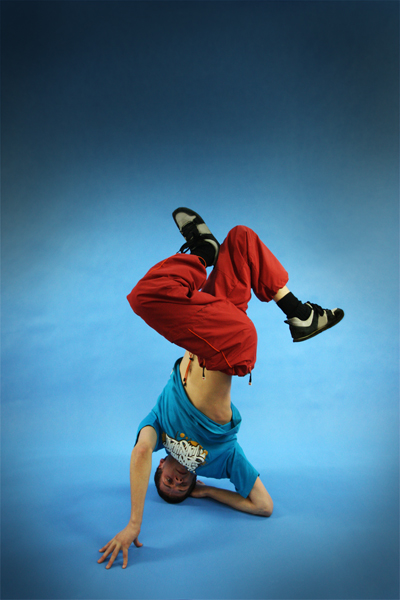
Create a new layer then fill the layer black then go Filter>Render>Lens Flare and place it somewhere in the center of the image. Change the blend mode of this layer to screen then lower the opacity until it looks right, maybe around 70% again. YOu may want to move the lens flare, do this by selecting the move tool and dragging the layer.
Step 4
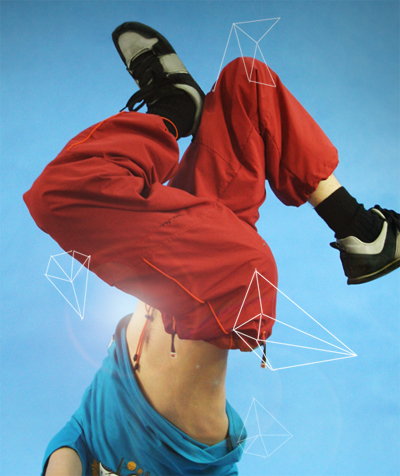
The first common element that I’m quickly going to show is the ‘diamond wireframes’, these have been popping up everywhere. First create a new layer then select the line shape tool. Choose a suitable weight, around 2px for this image then on the left side of the main toolbar there is three buttons so push the one on the right, hovering over it should read ‘Fill Pixels’. Now set the foreground color to white, this can be done quickly by hitting ‘D’ then ‘X’. Now just draw lines similar to the ones here, as if your drawing a diamond.
Step 5
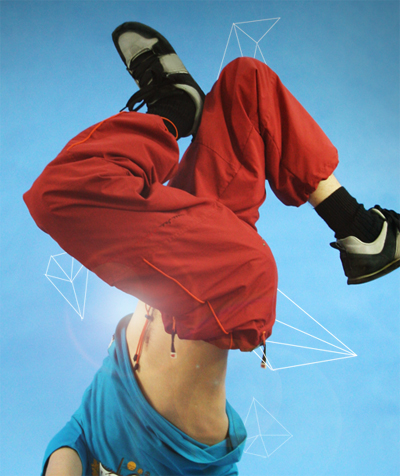
Now to have these go behind the subject we are going to mask them. Add a layer mask to this layer by pressing the layer mask button in the layers panel. Now select the layer mask then the brush tool and choose a hard round brush at a medium size, change the foreground color to black then brush over the parts of the diamonds that you dont want seen so here I brushed over his legs.
Step 6
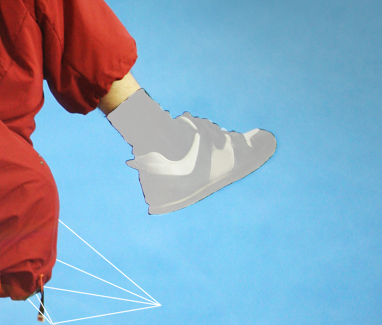
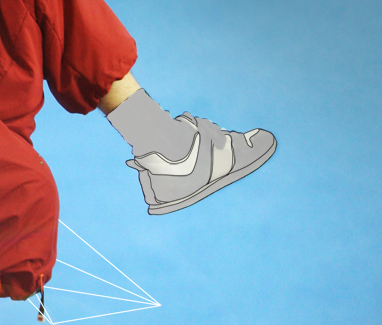
Create a new layer then select the pen tool and those three buttons again, make sure the middle one is pressed this time, this will create paths with the pen tool. Now zoom in on the shoe and using the pen tool draw a path around the shoe and the sock. After you’ve closed the path right click and select ‘Fill Path’ then choose white as the fill color. Lower the opacity of this layer to about 50% just so you can still see the details on the shoe because we need to trace them.
Step 7
Create a new layer, with all these layers make sure you name them and even arrange them into groups or things are going to get complicated. Select the brush tool and choose a 1px hard round brush and set the foreground color to black. Now choose the pen tool and and trace over one of the lines on the shoe then swap to the brush tool and hit Return and this will stroke the path. Change back to the pen tool then hit esc. a couple of times to get rid of the path. Now just repeat this for all the lines and details on the shoe.
Step 8
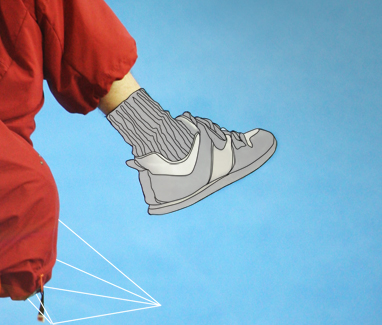
In a new layer repeat this process for the sock and the laces and you should be left with something like in the image below.
Step 9
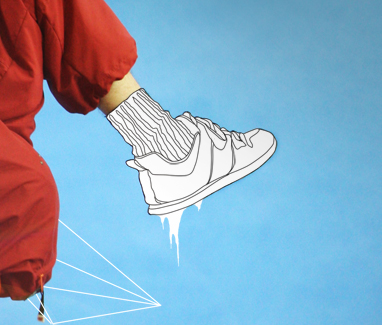
Remember the layer we made in step 6 where we filled the shoe white, change the opacity of this layer to 100%. Create a new layer directly above this one and with a hard white brush draw some drips from the shoe, there isn’t really a technique to this, just zoom in loads and try and make it look smooth, I usually just use the brush tool only but if you feel confident you could try using the pen tool.
Step 10
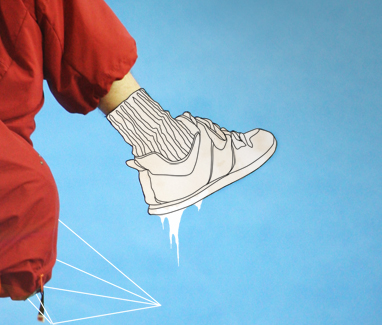
I felt the shoe looked to clean and flat so I downloaded a light brown paper texture, these can be found everywhere so just give it a google. Paste it into your document, the positioning doesn’t matter as long as it covers the shoe. Now Ctrl+click on the shoe layer (the one that we set to 100% in the last step) then select the paper layer and press the layer mask button then hit Ctrl+D get rid of the selection. In the layers panel place the paper layer between the shoe and the lines so above the shoe and the drip but below the lines. Now lower the opacity of this layer to around 30%.
Step 11
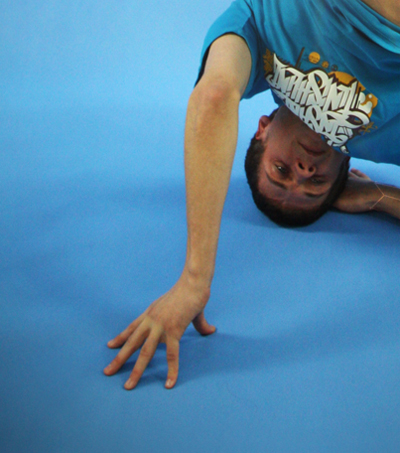
We’re going to now try and replace this guys arm with a tripod because I thought it would look cool. Select the clone stamp tool and in the main toolbar set the sample to all layers. Change the brush to a medium soft brush then create a new layer.
Step 12
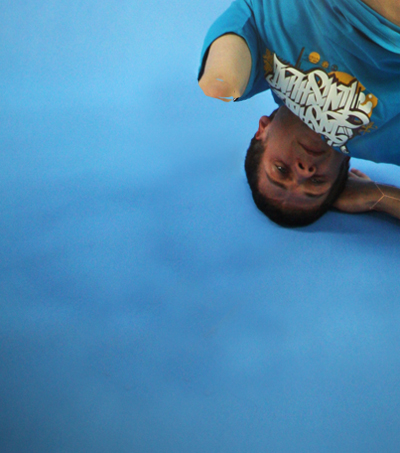
Now you have to remove the arm by sampling the background the cloning it on top of the arm. Do this by holding Alt and clicking where you want to sample then brushing over that area. Keep doing this until the arm is removed like in the image below.
Step 13
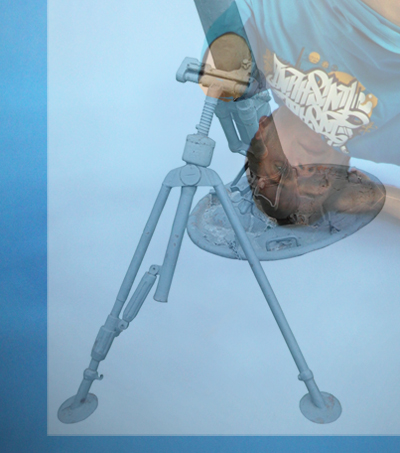
We now need a reference image of a tripod so search the internet until you find a good one tha would fit the arm then past it into the document, I lowered the opacity of this layer so I could position it accurately.
Step 14
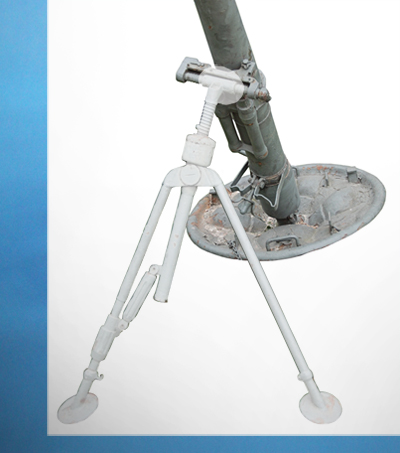
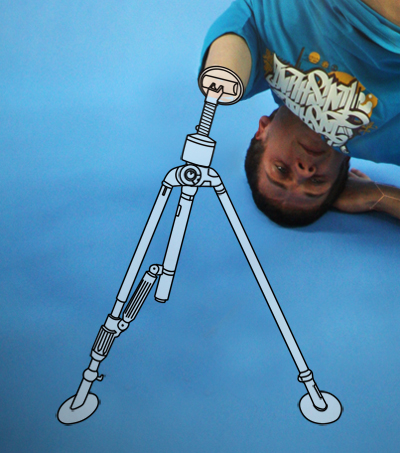
Now you have to use exactly the same process as we did for the shoe so first trace round the object and fill it white, you’ll notice that at the top I haven’t followed the reference image, this is because I wanted it to connect to the arm,
Step 15
Again use the same technique to add the lines, I added some extra line and made some bits up to make it look better.
Step 16
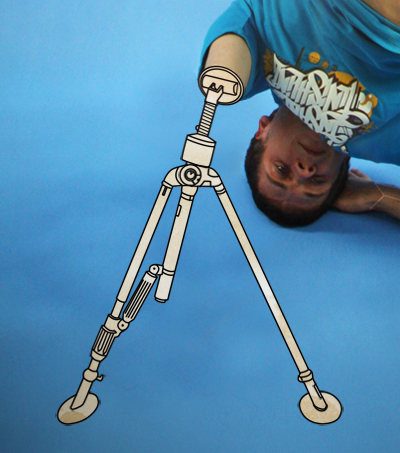
Raise the opacity of the filled layer then copy the paper texture and place it over the tripod in the same way as we did with the shoe
Step 17
I added a few drips on the arm, these should be easy for you to work out how to do. Thats us done for part 1 but check out part 2 here. I hope you found this part useful.
