
This is part two of the Dance Photo Manipulation tutorial, this part follows on from part 1 but shows some more advanced techniques and makes use of some of the skills you learned in the first part. This time we’ll be making use of the liquify tool, some brushes and some vector shapes to finish of the image and give an awesome result.
Introduction
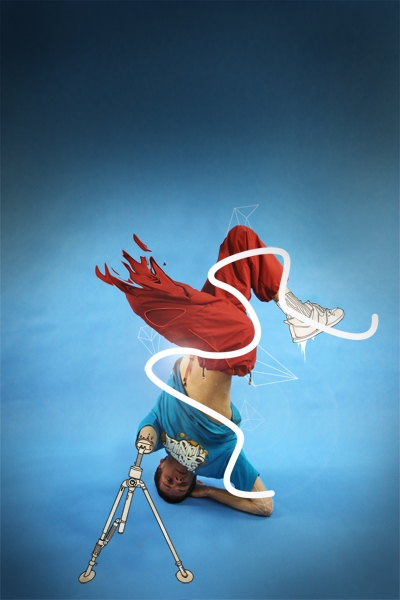
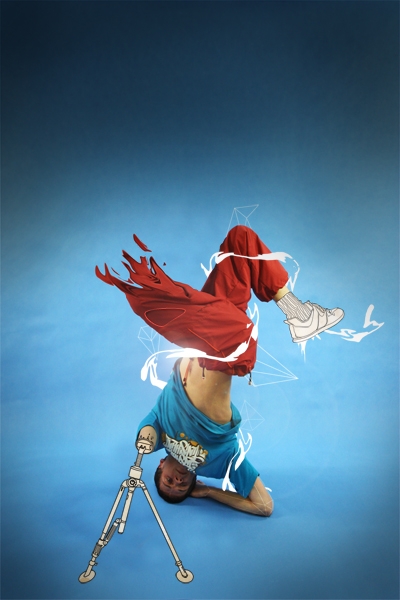
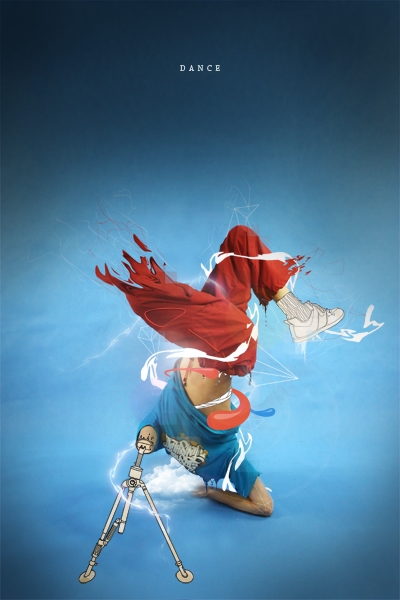
This two part tutorial will be showing how to create some really cool elements for a photo-manipulation. We’ll start with an image of a person and use lots of useful techniques to transform it into a really interesting image that will stand out. Below is a preview of what we’ll create over these two parts. Check out part 1 here.

Step 1
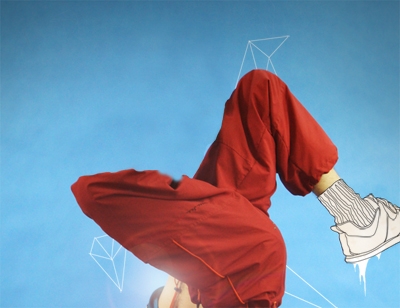
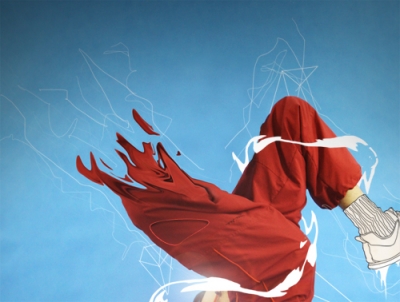
We need to remove the right leg so create a new layer and use the same technique we used to remove the arm in part 1. You should be left with something similar to below.
Step 2
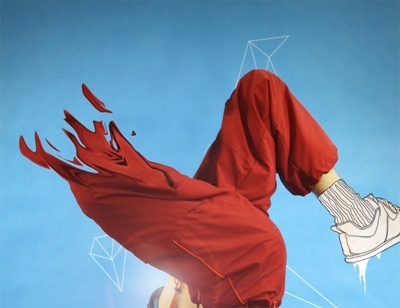
Create a new layer then select the clone stamp tool again but shange the brush to a hard one and clone some parts of the leg randomly to give the effect shown below.

Step 3
Now go Filter>Liquify a play around with the liquify controls and dragging until you you get something that looks good. You should now try and blend it into the leg ny either using the erasor tool or with a layer mask.
Step 4
Create a new layer then select the brush tool and choose a hard round brush of about 15px diameter. Now select the pen tool and draw a path that winds round the subject then sstroke it by selecting the brush tool and hitting Return.
Step 5
Now use the liquify tool to distort this line.
Step 6
We want this to wrap around the guys body so use the technique we used in part 1, step 5 to mask this layer.
Step 7
We’re going to add some random lines in now, these are easy, just select the brush tool and choose a 1px hard brush. Set the foreground color to a whiteish color then in a new layer draw some jagged lines freehand. Lower the opacity of this layer to suit.
Step 8
Now do the same in a new layer using a red color similar to that of the trousers.

Step 9
You can now use either the eraser tool or a layer mask, both with a low opacity brush to hide parts of the lines.

Step 10
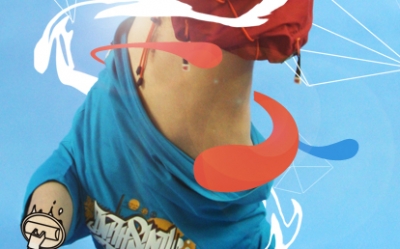
Another design element which has became popular are thes colored blobs. Create a new layer then select the pen tool and draw a path in the shape of the blob you want then fill it with a color, create a few of these.
Step 11
Now for the highlights create them in a new layer using the same technique but with a fill color of white. Lower the opacity of this layer to around 30%.
Step 12
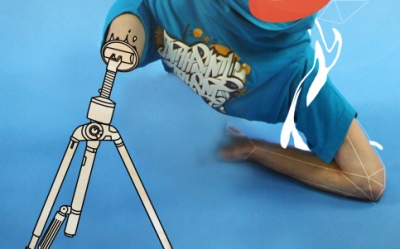
Now to remove the head, use the same technique as with the arm and leg and don’t worry if it looks messy because we’ll cover it up in a minute.
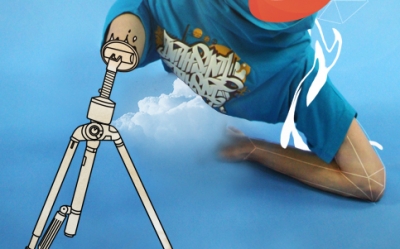
Step 13
You will nee some cloud brushes now which you can download here. Set the forecround color to white then in a new layer add a cloud, you will then need to use a layer mask or the eraser tool to make the cloud go behind his body. You can alter the opacity of the layer too if need be.
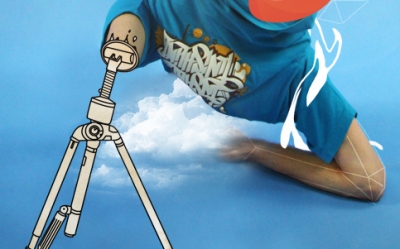
Step 14
Add another cloud to the image then either copy the layer mask from the first cloud or use the eraser tool again to make the cloud appear behind the guy.
Step 15
Now that I’ve shown you all the techniques you can go back in and use them them again to add more elements to the image for example I added another flame style thing to his left ankle and another white swirl round his body which I blurred and added a glow. Other things you can do to this image are to smooth out the top and put in some text. Some more drips and lines will add more depth as well, keep it subtle and keep building it up layer by layer and you will get a good result.
Conclusion
I hope from this tutorial, you’ve learned something new that you’ll be able to take away and apply to your own peices and you’ve also seen that creating impressive peices of art in Photoshop really isn’t that hard if you just build it up layer by layer.


